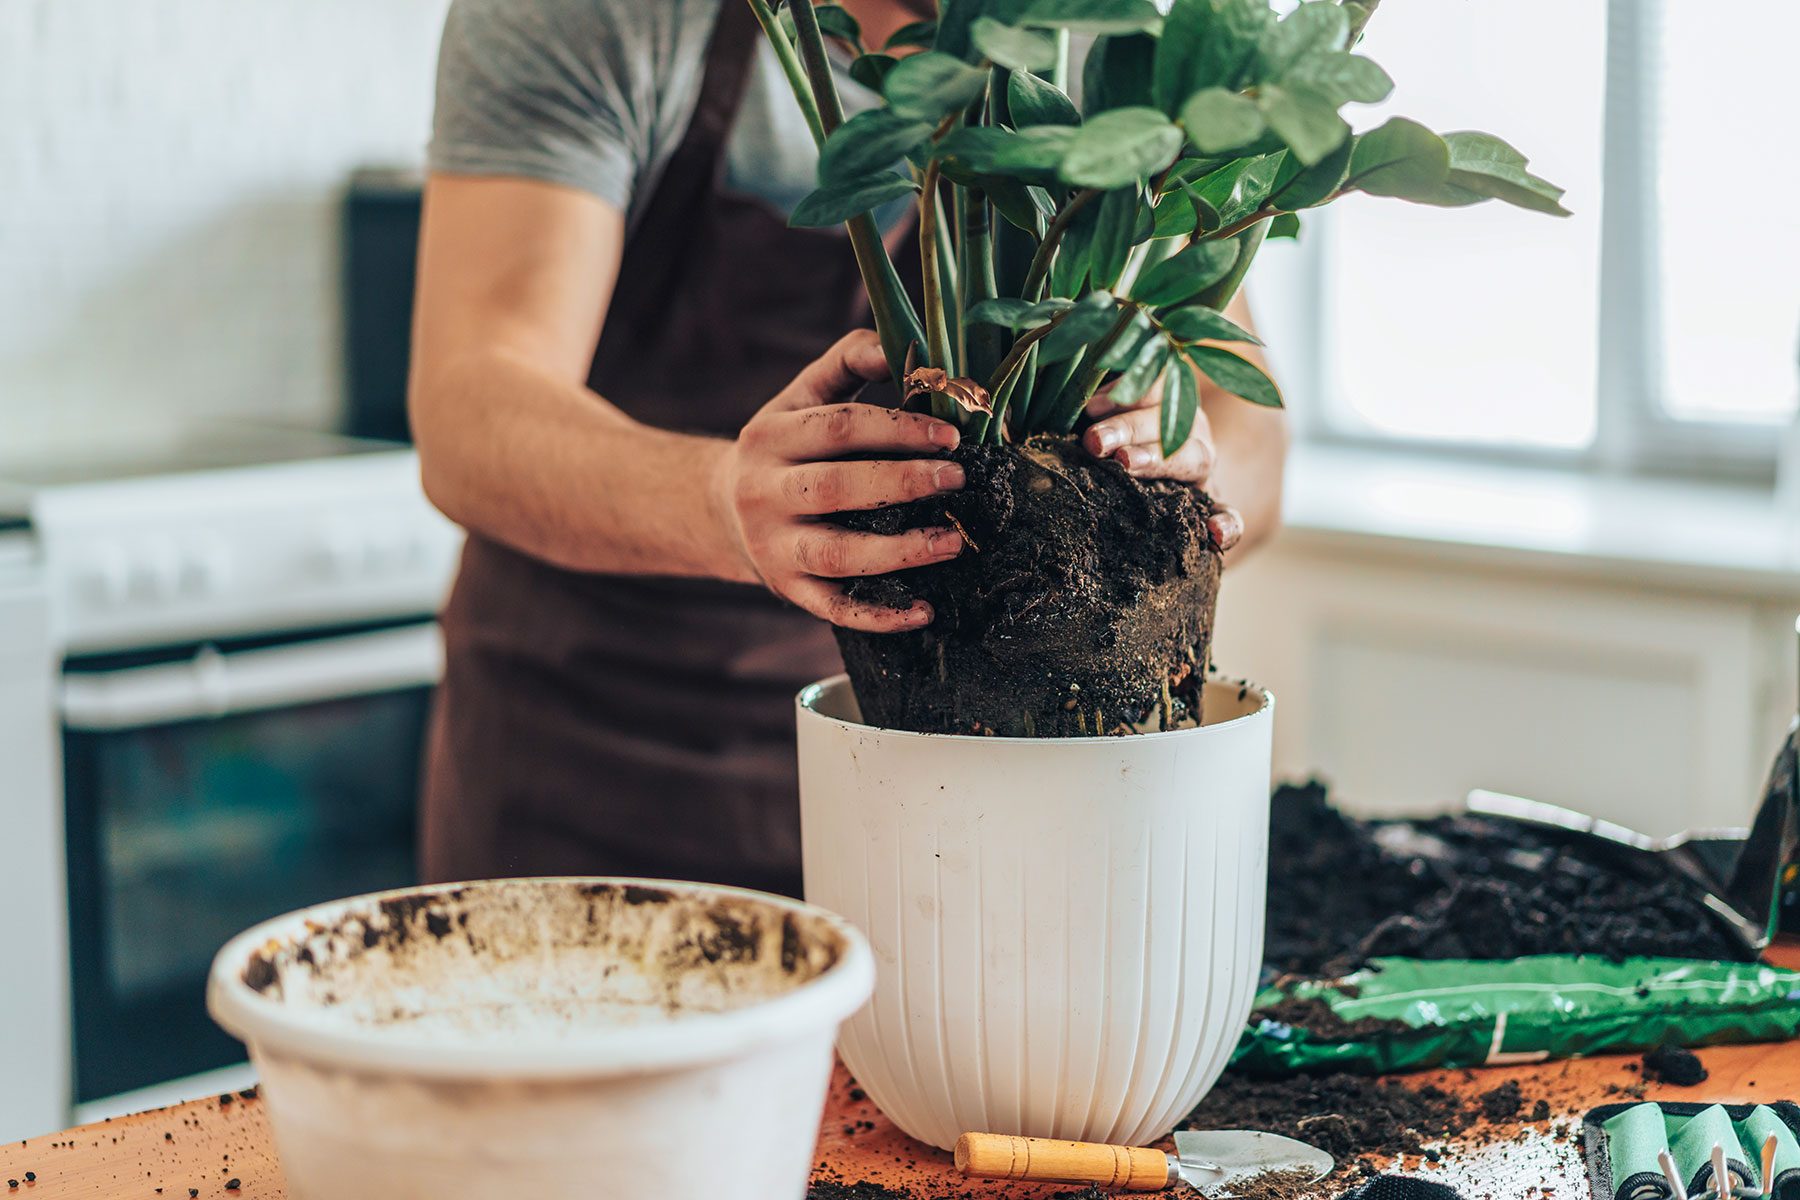
Learn how to repot a plant and give it health and beauty for years to come.

How to Repot a Plant the Right Way

If you’ve ever upgraded from a studio to a one-bedroom apartment, you will understand why you need to learn how to repot a plant. The extra space can be life-changing. From indoor herb gardens to air-purifying favorites, plants need an occasional pot upgrade to grow. What’s more, repotting a plant gives you a chance to change container style as well. And who doesn’t love an excuse to change up home decor once in a while?
When to Repot Plants
Plant health is the primary reason to give your greenery new homes. Plants that outgrow their pots need to upsize in order to grow and thrive. Some signs start at the top. Are stems and leaves sagging? Is the soil compacted? Does water run straight to the drainage holes without being absorbed? Conversely, does water sit in a soggy pool, risking root rot? Understanding when to water and how often is the key to keeping plants happy, but older soil may be nutrient- and drainage-insufficient.
Checking the base of the plant can help too. Roots show just how healthy or crowded that plant might be. If you see roots swirling around the inside of the pot or emerging through drainage holes, they need more space.
How to Repot a Plant the Right Way
Collect everything you’ll need before tackling a repotting project. It’s easier than stopping midway, especially if finding that new container or potting mix requires a trip to the garden center.
Things You’ll Need
- New pot: Find a container that’s larger than your current pot. Look for options that are at least 1 to 2 inches wider and taller. There are adorable indoor planters to match every style. Look for pots with drainage holes. Without proper drainage, your plants are prone to root rot.
- Potting mix: Pick a planting medium meant for indoor plants. Indoor potting mix is designed for the correct porousness as well as moisture retention. Ingredients like mulch and perlite are super helpful. There are also specialized formulas for some plants including potting mix for tropical plants.
- Watering can: Adding water from a can is not essential, but is often easier. The spout allows for slower pouring with correct pressure. Look for a can that matches your indoor garden needs (and style!). Plant parents of singletons can work with something smaller. A recycled beverage jug can work too.
- Gloves: Protect your hands with garden gloves. Even nitrile gloves can work—unlike outdoor weeding and pruning, indoor repotting is a gentle art.
- Clippers: A clean cutting tool like shears or scissors will help remove any rotten roots if necessary.
Directions
Some plants are easier to repot than others. For small containers, a kitchen table or countertop would be ideal. Large plants are easier to repot outside, weather permitting. Ideally, plan for repotting in spring or summer as longer, sunnier days can lead to heavier growth.
Step 1: Set the stage
Line up all of your equipment including something to protect the table from debris. Newspaper or an old bath towel will work just fine.
Step 2: Prep the new container
Place a screen or stones above the drainage hole to guard against soil compaction and allow water to flow. Add an inch or so of new potting mix. Place the plant in its original container inside the new pot for a height check; a half-inch below the lip of the vase would be ideal. Remember, it may sink a little after watering. Take the old container out of the new one.
Step 3: Remove the plant from its current container
Remove the plant from its existing container by placing one hand around the base of the plant on the soil line. While holding the plant, gently turn the pot so it can slide out of the container at a sideways or slightly downward angle. If it’s stuck due to root growth, slide a dull knife or alternative tool around the inside edges. It’s also possible to gently wiggle and slide the plant to release. Try to avoid pulling on stems and leaves. Seriously stuck plastic containers can be cut away.
Step 4: Loosen the roots
Loosening the roots will help plants adapt to their new home. First, remove any visible root damage. Try to untangle any roots that circled the inside of the old container and any tangles at the bottom. If a few break, it will be fine. Gently remove old soil around the circumference and bottom of the plant. The goal is to expose the roots to their new home and get them growing.
Step 5: Place plant in a new container

Place the plant in the larger container. Add new potting mix along the edges until it is level with the base of the plant. Only add soil on top of the surface if roots are exposed.
Step 6: Water thoroughly
Water the plant so all of the potting mix is damp and water flows through the hole at the bottom. Soil levels may sink as air pockets evaporate so add more soil and more water as necessary. Do not let pots sit in puddles of water.
Editor’s Tip: Keep a close eye on repotted plants. The larger amount of soil may dry at different rates, so adjust the watering schedule to match. Knowing your plants will be helpful too. For example, repotted and watered succulents may not need more water for weeks.
How Often to Repot Plants
Most plants can live comfortably for a year or two right where they are. Slow growers require less and some, like orchids, appreciate tight quarters. The plant health and the quality of the soil will let you know when it’s time for a change. When you do transfer your plants to larger pots, keep the smaller ones handy—you can use them to plant propagated cuttings!


